How to perform CPR - Adults & Older Children

CPR Resources
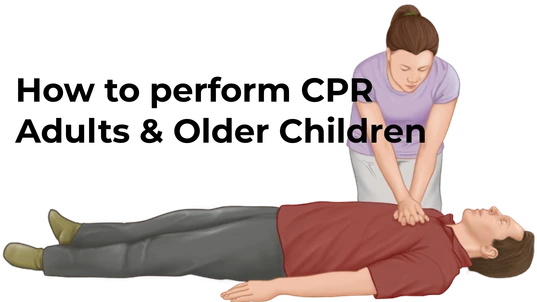
How to perform CPR on adults and older children
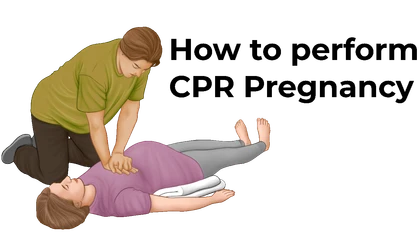
If you’re in an emergency, call (000) Find out how to perform CPR on an adult or older child (over 8 years old) by following the guide below. You can also go to specific guides on CPR for children, infants and during pregnancy. Please note, the information provided below is not a substitute for first aid training.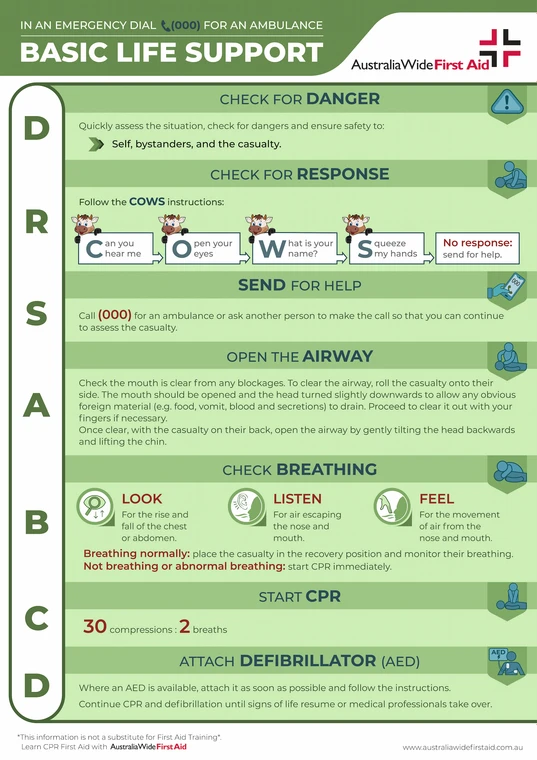
Adult Basic Life Support - DRSABCD Flowchar
How to determine if CPR is necessary
The DRSABCD action plan is a structured way of assisting a casualty. It includes vital steps such as assessing for danger, checking for a response, sending for help, clearing and opening the airway, and checking for breathing. The Basic Life Support chart below shows all the critical steps leading up to performing cardiopulmonary resuscitation (CPR). - Adult BLS Chart (A2 & smaller)
Looking to get you First Aid knowledge up to date?
We run certified First Aid courses throughout all major Acustralian citys. Find a location near you.
Step-by-step guide
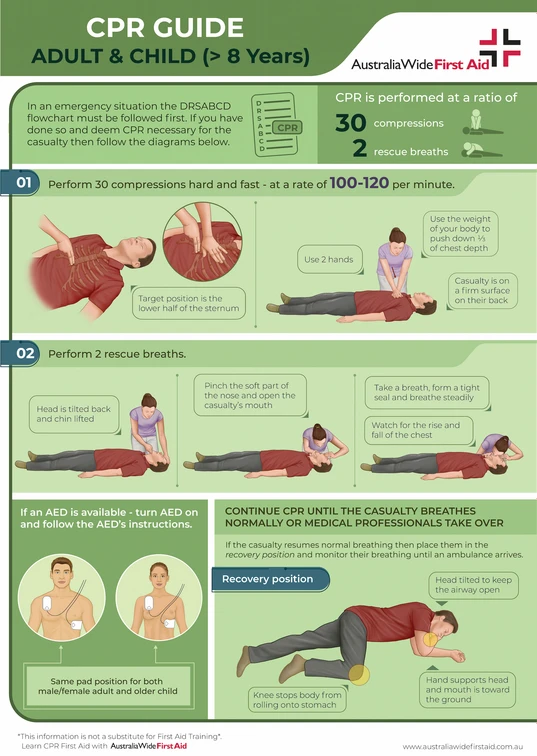
After having followed the DRSABCD plan, follow the steps below. CPR is performed at a ratio of 30:2 (30 chest compressions + 2 rescue breaths).Chest compressions
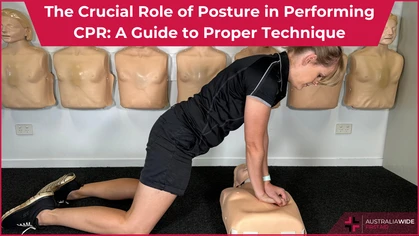
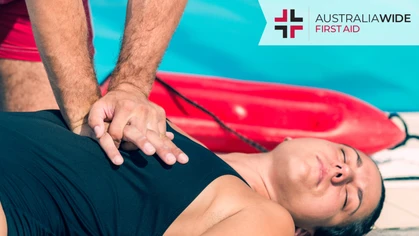
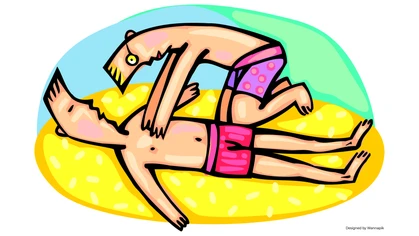
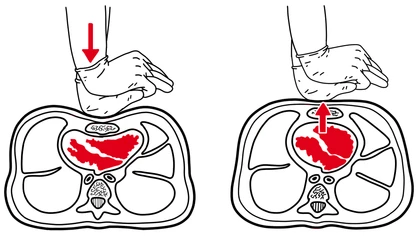
1. Place the casualty on a firm surface on their back. Kneel beside them. 2. Place the heel of one hand on the lower half of the sternum.

Rescue breaths (mouth-to-mouth)
After the 30 compressions, give 2 rescue breaths. 1. Open the casualty's airway. Ensure the head is tilted back and the chin is lifted by placing one hand on their forehead and the other hand under their chin to tilt the head back.


- The casualty is positioned properly.
- The airway is not obstructed by a foreign body - if it is - remove it.
- The nose is pinched closed to prevent any air from escaping and you maintain a tight seal with the casualty’s mouth.
Using an AED
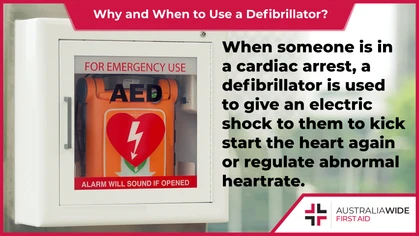
Where an AED is available, turn it on and attach pads or have a bystander attach them so you can continue doing compressions. Follow the AED’s instructions. An AED will analyse heart rhythm every 2 minutes. It may or may not give a shock. Continue to give CPR in between each analysis cycle. Find out more about using an AED.
- the person responds or resumes breathing normally
- it is impossible to continue e.g. due to exhaustion
- a health care professional takes over or directs that CPR be ceased (don't stop until they tell you)
- it is too dangerous to continue

Exposing the torso of female patients
Clothing needs to be removed from the chest before performing CPR or using an AED, so placement of hands (CPR) or electrode pads (AED) is not compromised. The prevailing circumstance is that the person’s life is hanging in the balance. Cultural sensitivity and dignity are important but preserving life is the top priority. If there are bystanders, you can ask them to respect the victim by clearing the area or at the very least turning away. The only witnesses should be those helping the victim. Obviously photos and videos would be discouraged. If there is a female first aider and a male first aider at the scene, it would be prudent for the female to manage first aid. Hands are placed at the centre of the chest on the lower half of the breastbone. AED pads are placed, one on the upper right chest, the other on the lower left side of the chest, along the ribs. When a bra is removed, breasts naturally fall to the sides, allowing for proper hand placement without needing to touch them. In the case of a person with large breasts, the left breast may need to be lifted for proper pad placement. Use the back of the hand to lift the breast while placing the pad. Metal in an underwire bra can potentially interfere with the shock an AED delivers, meaning it may not work when the bra is left on the patient. This would also apply to metal body jewellery. If possible, everything metal should be removed from the chest area. Once proper placement of pads is done, available clothing can be draped over the chest to preserve modesty.
Other CPR Resources
Visit the Australia Wide First Aid CPR Library for even more information, guides and downloadable resources. Our Pocket Mask Training online course gives you the knowledge you need to be able to effectively us a pocket mask or face shield during CPR. Being fully online means you can work through it at your own place, either at your desk at work or in the comfort of your own home. Read the texts, watch the videos, and answer the quiz questions - it's as easy as that! You'll also receive a Certificate of Completion at the end of the course - perfect to hand to your employer or put on your resume.
Originally published at
https://www.australiawidefirstaid.com.au/resources/cpr-guide-adults
as part of the Australia Wide First Aid Articles Library
